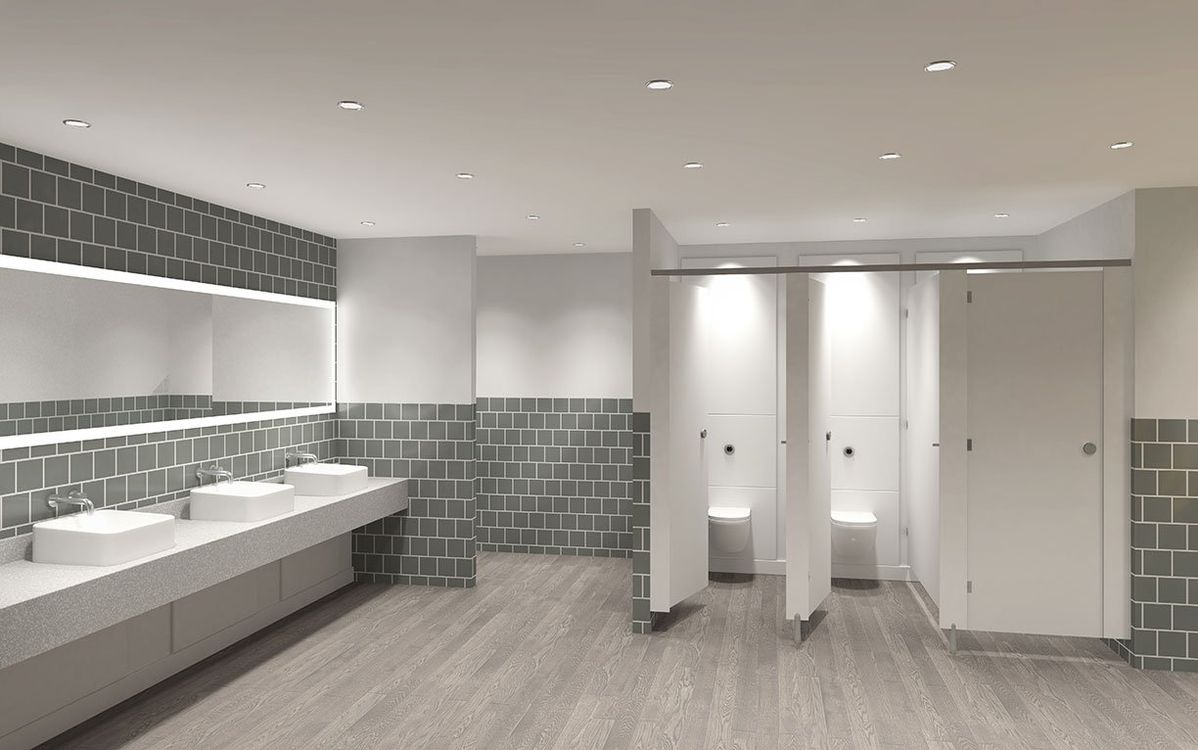
Proper installation of toilet cubicles is essential for ensuring durability, privacy, and an aesthetic finish in commercial restrooms. Whether you are designing a public facility, office building, or institutional washroom, following a structured installation process guarantees structural stability and long-term performance.
Before beginning the installation, verify all site measurements against architectural drawings. Ensure that floors are level and walls are structurally sound to support pilasters, panels, and hardware securely.
A successful restroom cubicle installation relies on precision measurements, quality hardware selection, and meticulous alignment to deliver a professional and sturdy finish.
Always use appropriate anchoring materials depending on whether your flooring is concrete, tile, or raised access flooring. Proper alignment of pilasters and divider panels prevents door sagging and operational wear over time.
Step-by-Step Restroom Cubicle Installation Best Practices
Execute each phase methodically, paying close attention to hardware alignment, clearance gaps, and manufacturer specifications.
- Site Inspection & Layout: Verify floor levels, wall conditions, and dimensions before unpacking hardware components.
- Wall Bracket Placement: Secure divider panel wall brackets at recommended heights, ensuring precise horizontal leveling.
- Pilaster and Panel Assembly: Position pilasters and attach divider panels using secure anti-tamper fasteners.
- Door Hanging & Adjustment: Install hinges and door latches, adjusting gravity hinges for smooth self-closing or self-opening behavior.
- Final Inspection & Cleanup: Check all locks, indicator bolts, and clean surfaces of dust or protective films.
Adhering to these professional guidelines ensures that your restroom partition systems remain durable, safe, and visually appealing for years to come.